For years, I have tried to win my wife over on pork. “Nope”, she would say, “it’s too tough.” Back to the drawing board. Well, one day, I was in a pinch for dinner and the only thing we had was a chuck roast or some similar cut of meat. I think I googled ‘cook meat in half the time’ or something, and started stumbling across all these pressure cooker recipes. We had recently returned from Eleuthera where we had met a woman who raved to us about her Instant Pot, a specific and popular brand of pressure cooker. She had me convinced that we could not live without one. Heck, she could have probably sold us one there on the spot had she been an Instant Pot saleswoman.
Anyway, I said to my wife, “We should buy a pressure cooker. You can cook stuff really fast.” Lo and behold, she replied, “we DO have one. It’s sitting downstairs, still in the box.” Apparently, we had acquired one through a tag sale at one point. While I did not use it that evening, I experimented with it the following weekend, and felt as if I had cracked some secret code or discovered a long lost chamber in the valley of kings. I could not get over how much time it knocked off of cooking and the great flavor profile it imbued upon foods. After a few profound pressure cooker sessions with pork, my wife was a believer.
Fast forward to last night. Like many recipes, I usually go for cheap cuts of meat and try to figure out ways to elevate them to their highest potential. I’m not really into paying fifteen dollars a pound for fancy steaks or NY strips (but can’t resist on occasion). This recipe is one variant of my favorite way to do pork in the pressure cooker. White wine, onions, and chicken broth serve as the foundation for this dish. I hope you enjoy it as much as we do. Note that this recipe uses a pork loin ROAST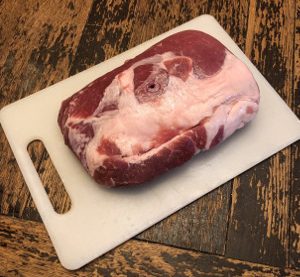 and not a pork tenderloin, which is a smaller, longer cut.
Pressure Cooker Pork Roast with White Wine Portabella Mushroom Gravy
Equipment
- Pressure Cooker (Instant Pot)
- Wooden Spoon (for stirring)
- Cast iron or stainless steel skillet for searing
Ingredients
- 3 lbs pork loin roast (NOT the thinner pork tenderloin)
- 1 portabella mushroom (can substitute other varieties)
- 1 sliced onion
- 1 cup white wine
- 2 tbsp soy sauce
- salt /pepper
- extra virgin olive oil
- sprigs of fresh rosemary / oregano (optional)
Instructions
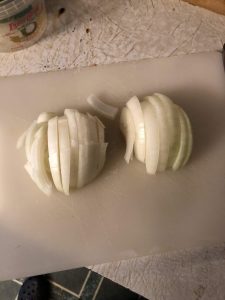
- Begin by slicing the onion in half and then in more slices crosswise. You can then even slice crosswise the other way once more if you prefer smaller slices. Next, wash and pat dry the portabella mushroom and slice the top lengthwise and crosswise to derive bite-sized pieces.
- Preheat the cast iron skillet to energize its amazing powers. Here is where some will argue you should be browning the meat right in the pressure cooker. I prefer a separate pan for this step as, unless you have a very large pressure cooker, the hot surface area is small, and it just annoys me to flip it in that smaller pot. I also think the cast iron gives a much better sear. You can totally brown the pork right in the pressure cooker–up to you.
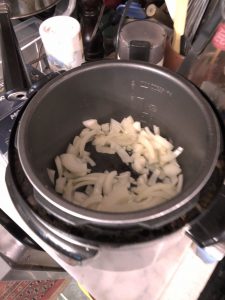
- Transfer the onions to pressure cooker and coat with 1-2 tbsp of the olive oil. Set your pressure cooker to 'sautee' and heat the onions for approximately 5-8 minutes, giving them an occasional stir until they are very aromatic, slightly tan, and translucent. DEGLAZE the onions and mushrooms by pouring in approximately 1/4 cup wine and let the wine cook off slightly, scraping any stuck bits from the side. Turn off heat in pressure cooker. Let sit.
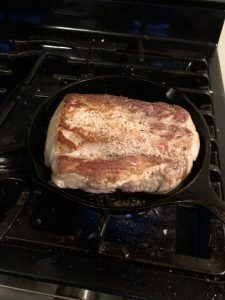
- Place the roast in the cast iron skillet and listen to that divine searing noise. Coat with a decent helping of salt and pepper (maybe about 2 teaspoons each) and let sear for about 5 minutes. RIght before the 5 minute mark, spread about 2 tbsp flour over the top and turn the roast over. Add salt and pepper to this side, as well. After a few minutes, add some flour to this side. This will help thicken the cooking gravy and give a firm coating to the outside part of the meat. Flip once more to sear the flour onto the other side. Remove from heat.
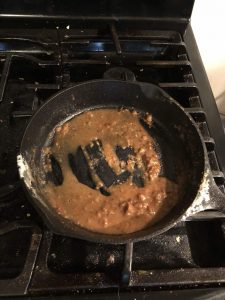
- Transfer the seared roast into the pressure cooker. Deglaze the skillet by adding some white wine to the skillet, scraping up all the floury bits. The cast iron will retain its heat for a while, so no need to leave on the heat. I let this mixture rest and add back to the pressure cooker at the end. This not only makes cleaning the skillet easier, it adds to your gravy base.
- Add about 1 cup of the chicken broth, 2 tbsp of soy sauce, and some more white wine–maybe you will have around 1/2 cup left. This will all determine how much pan gravy you will have at the end, and you will definitely want a decent amount.
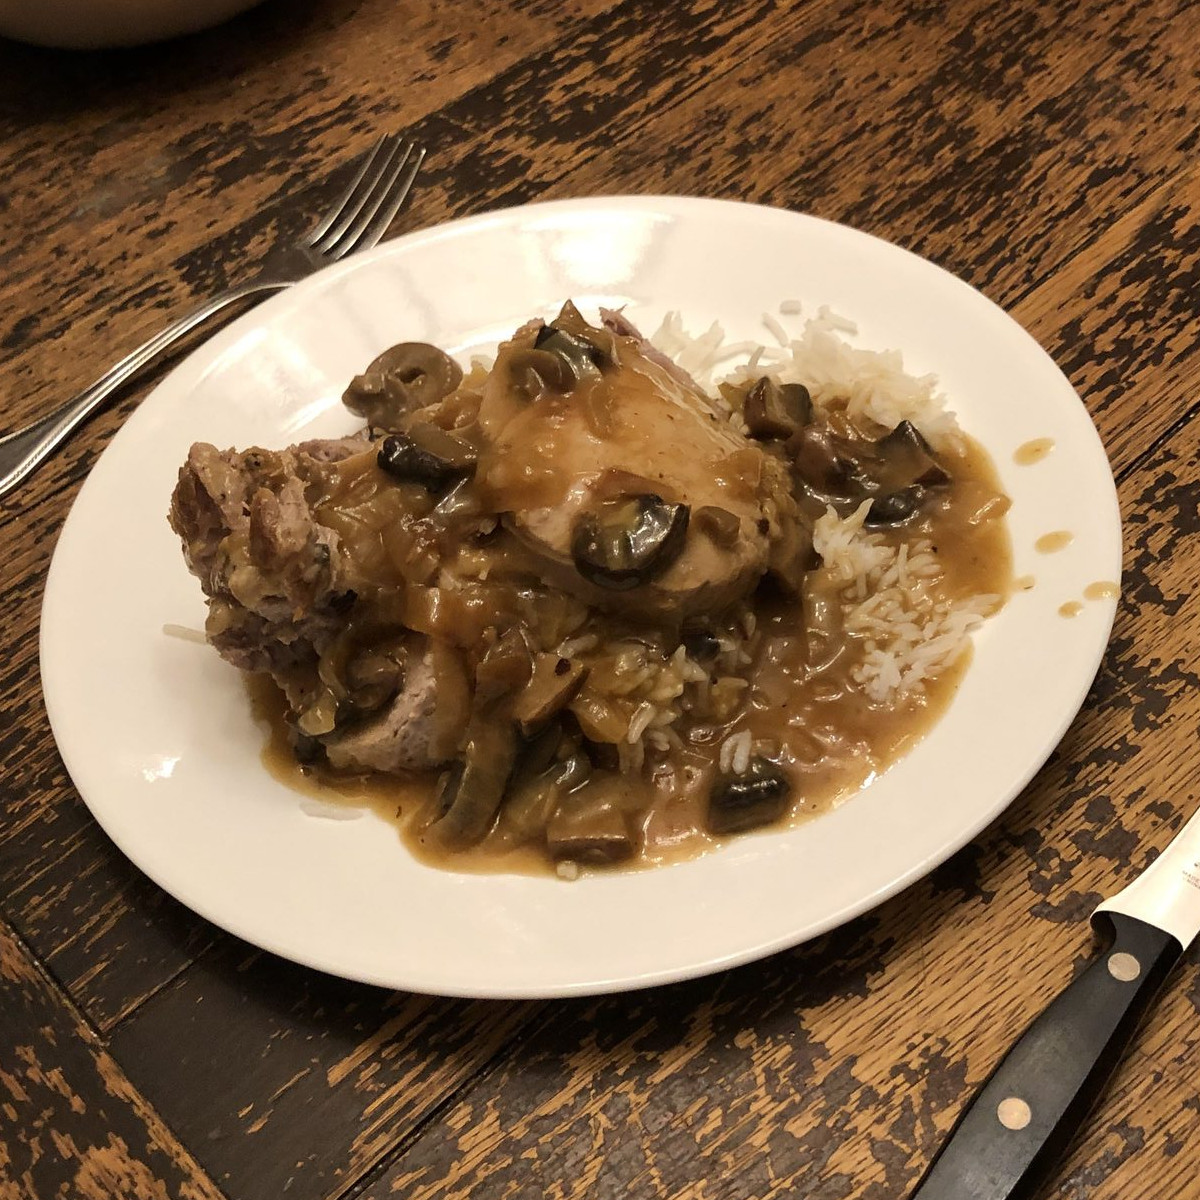
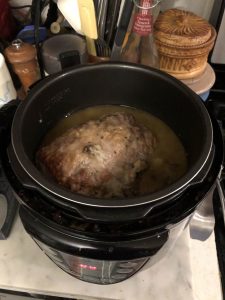
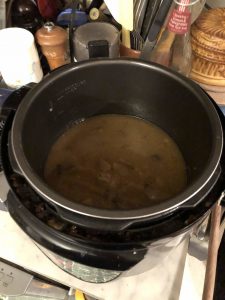
- Set it and…forget it. Set the cooker to 25 minutes, cover the top, and relax for a few. Let the pressure cooker release naturally when finished. This will add around 10 minutes of cooking time. When you remove lid, your roast will look something like this with the juices now slightly thickened. Leave the thickened juice in the cooker, which you will return to in a moment.
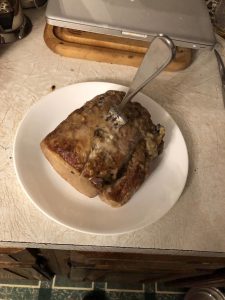
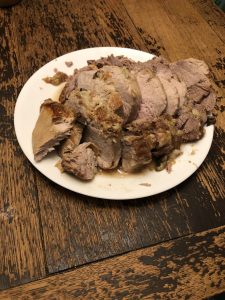
- Remove the roast and just admire it for a minute or two on the plate. Yeah. YOU made that, pal.
- Slice the roast into 1/4 inch thick pieces crosswise, starting at the tip. You can use a cutting board, but I just use a plate when my wife isn't looking and try not to scratch it with the carving knife.
- Now it's time to thicken that gravy. You don't need to, but oh goodness, you definitely should. Add about 2 tbsp of cornstarch to a measuring cup and pour in some water until you have a 'slurry', or a smooth mix of the water and cornstarch.
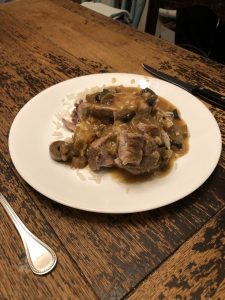
- Turn the pressure cooker back on to 'heat' or 'sautee.' Slowly pour the cornstarch slurry into the juices, stirring constantly, and pause for a minute. Be super careful here. If you haven't messed with cornstarch before, adding too much at once can add awful lumps to your gravy. Let the gravy heat up a little more. Slowly add some more of the slurry and stir. Wait. Patience. Look for the graby to bubble a little. You might need to add another batch. Just keep repeating the process until the gravy thickness is to your liking. You can kind of tell when it's done by standing back and giving it a final stir.
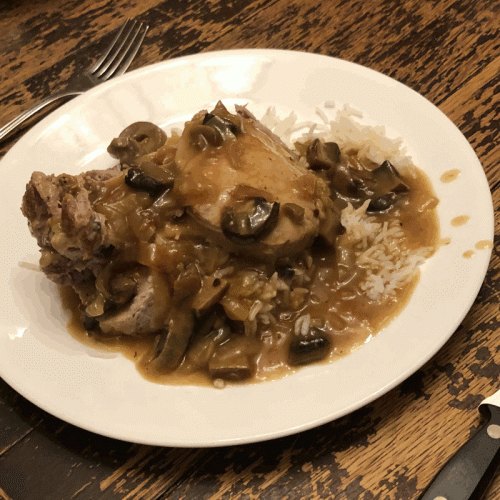
- Done! Grab your plates and start serving. I love to serve this over some basmati rice, which also comes out WAAAAY better in the pressure cooker, but I usually just cook in parallel on the stove if the pressure cooker already being used.
