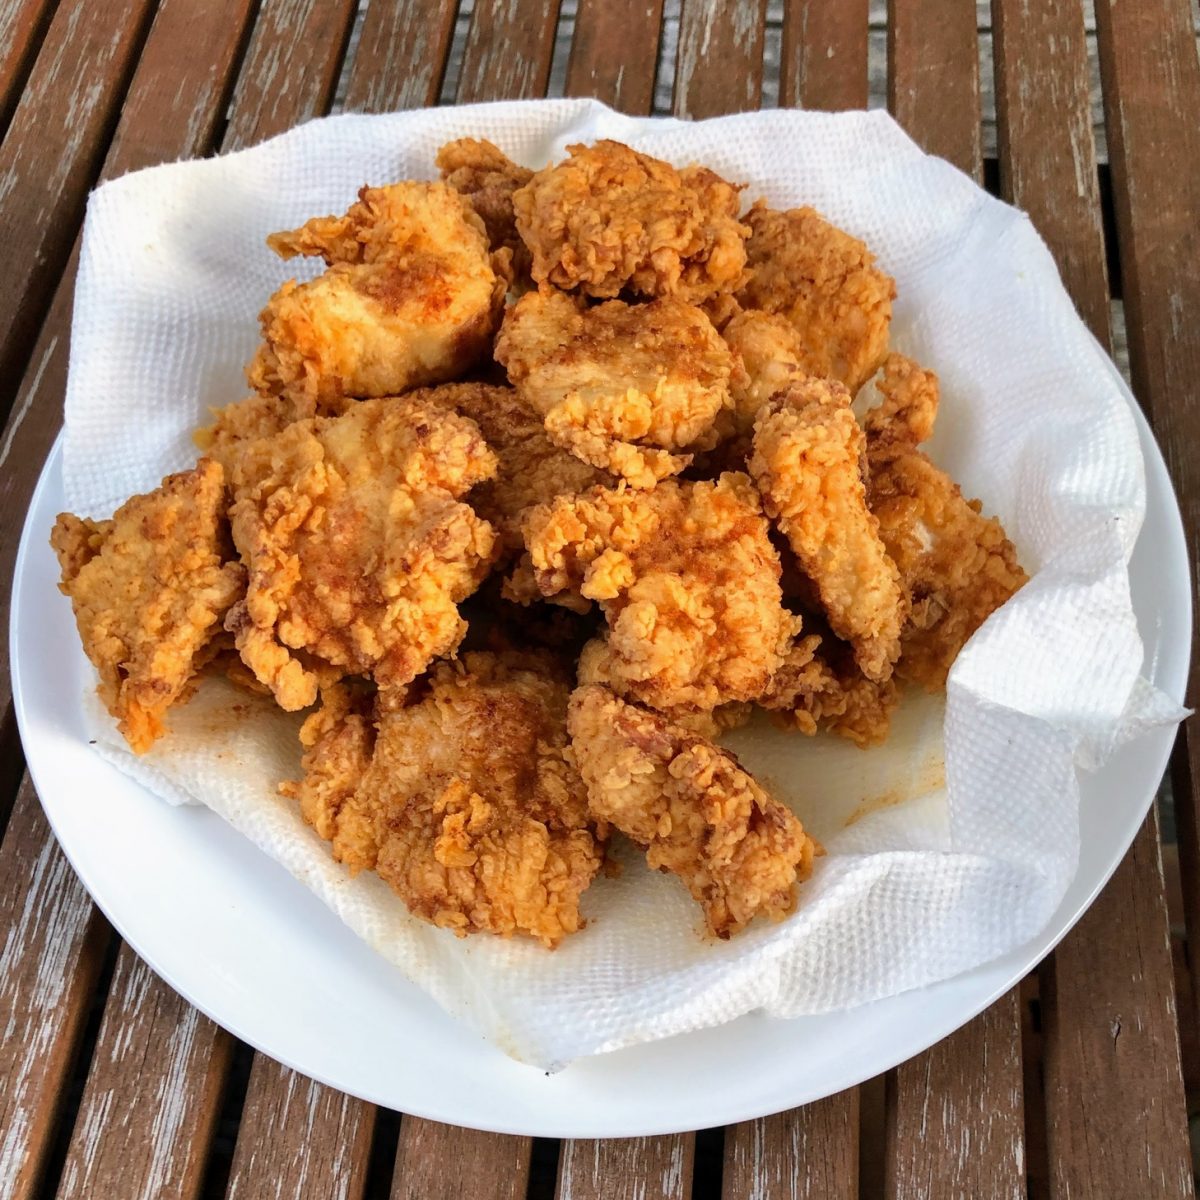
Those are pretty strong words, so I better have the recipe to back it up, eh? Well, thankfully there are a few Chick-fil-A’s nearby, and while I do love their chicken, I can honestly say that this recipe tastes better and is so easy to make.
The number one secret?
The secret weapon is simple–pickle juice. Go for a pickle juice from natural pickles without any preservatives, and you are in business. The taste is amazing. I have found Mt. Olive Organic dill pickle spears to be the closest thing — I think the only questionable ingredient is calcium chloride, but that is similar enough to regular salt, so I do not mind it.
You don’t need a ton of pickle juice either. Probably 3-4 tablespoons is all you need for enough tenders to feed 5-6 people. You will want to let the chicken soak in the marinade for at least 30 minutes and longer if possible. I usually only decide what to cook about an hour before we eat, so I generally do not have that much time, and 30 minutes is enough to impart some decent flavor into the chicken.
Some other secrets…
The other trick I like to use is frying the chicken outside to avoid stinking up the house — my wife likes this part the best. Finally, as I have been on a sourdough kick, I will add a few tablespoons of sourdough starter to the milk / egg mixture. Sourdough starter is easy to make and have on hand for recipes. It does take a few days to prepare, but worth it. This pushes the taste over the top. While not necessary, I highly recommend.
Let me know what you think about this recipe. I would love to hear some comments and tweaks you have done with this recipe.
Better than Chick-fil-A Chicken Tenders
Equipment
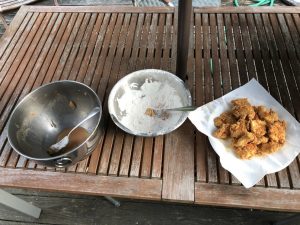
- 2 metal bowls
- large chicken frying pan
Ingredients
- 3 cups Vegetable Oil
- 5-6 Chicken Breast Halves
- 3 cups All-purpose Flour
- 1 Large Egg
- 1/2 cup Milk
- 3 tbsp Pickle Juice
- 2 tbsp Paprika
- 2 tsp Coursely Ground Black Pepper
- 2 tbsp Sourdough Starter Optional, but adds a GREAT sour note!
Instructions
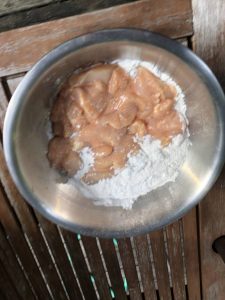
- Take each chicken breast half and cut crosswise into 3/4 inch wide strips. You want each piece to be manageable and a little larger than 2 bites. Place into first bowl.
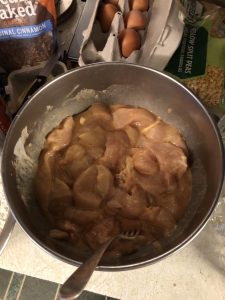
- Add all of the ingredients except for the flour into the bowl with the chicken and mix well. Place in fridge for at least 30 minutes up to several hours.
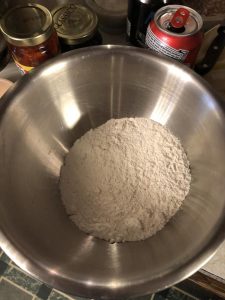
- When ready to cook, take the second bowl and add the flour. Grab a beer to help ease into dinner — optional 🙂
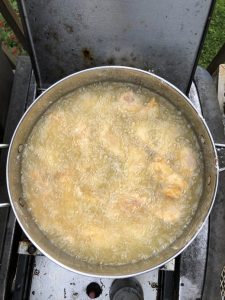
- Add the vegetable oil into the chicken fryer pan and place on high heat. You will want to make sure there is enough oil to mostly cover the amount of tenders you will be frying at once.
- When the oil is heated and you see heat waves flowing through the oil, take a fork and transfer two handful sized amounts of the marinated pieces into the flour bowl. Make sure each piece is well coated with the milk/egg mixture. You can now toss to coat the chicken evenly with flour. The idea is to have a decent layer of the flour and and milk/egg mixture without it being a batter, which would make more of a tempura coating.
- Next, carefully drop each flour-coated piece into the hot oil, being careful not to splash yourself with the hot oil. If you dont get sizzle and bubbles from the oil, wait a little longer before adding any more. Add enough pieces so that there is a single layer of tenders in contact with bottom of fryer, leaving some space in between each one.
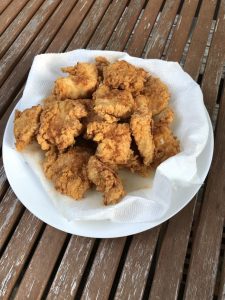
- Let each batch cook for 5-8 minutes, and turn the tenders to cook evenly. Once they are golden brown, you can test with a fork to ensure doneness. You want them slightly firm. I usually take one out and slice open to make sure there is no pink. Transfer the first batch to a plate with a paper towel to absorb excess oil. Repeat steps until all chicken is done.
- I usually serve each batch as they are done — the family does not mind eating them in waves! Otherwise you can let each batch sit in a warm oven, but be careful not to overcook them or they will be less tender. Enjoy your tendies!
